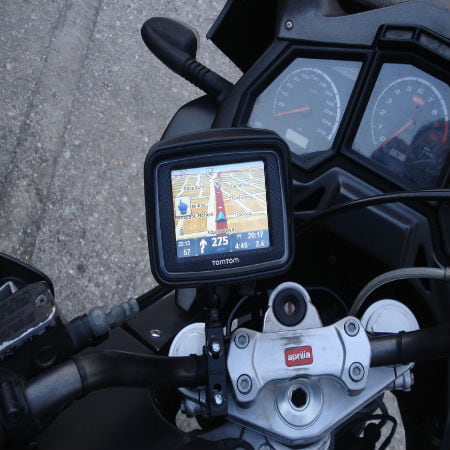
Installing motorcycle GPS is a wise thing to do these days as motorcycles are easy targets for theft. Motorcycle thieves attack usually during summer months. In 2014, the National Insurance Crime Bureau recorded a total of 42,856 cases of motorcycle in the US and 41 percent of the stolen motorcycles were recovered.
When you purchase a tracker, make sure that it has all the functionalities you need for your bike, as not all GPS devices are the same. There is a portable and then there is also a plug-in GPS tracker. Ensure also that the tracking system including the hardware that you buy will fit exactly so there will be no problem installing GPS on your motorcycle. One example of such 3G GPS device is Trackimo.
Scroll down for videos

Wikimedia Commons
Installing Motorcycle GPS in Easy Steps
Step One. Before you continue with your plan on purchasing a GPS system for your motorcycle, do research first, read product specifications and reviews to help you pick the right GPS device.
Step Two. Decide where on the motorcycle you want to mount your device. When installing motorcycle GPS, it is recommended that you pick a spot that is accessible and will not block your view.
Step Three. Using an Allen key, loosen that handlebar mount. Adjust the size of the mount so it would fit to the width of the handlebars of your motorcycle. There is a piece of rubber, that’s what you will use as base for the motorcycle tracker, cut it into size that will fit over the handlebars.

Step Four. Put the rubber and base over the handles. Tighten the mount using the Allen key.
Step Five. Using a screw driver, fasten the holder with the included screws. And then smooth along the GPS device to the frame.
Step Six. Attach the battery cable to the motorcycle tracker. Connect one end of the cable to the GPS tracking unit while the other end should be hooked up to your motorcycle 12 volt power supply. Switch on the device and you are now ready to start monitoring your motorcycle.
Watch the videos below